In this course you will be assigned a Git source-code repository (or repo for short) that you will use to turn in all assignments.
Git is a textfile revision system. One uses it to manage revisions of text files between multiple people using a single set of files. Git will keep track of who made which changes and when (the revision history), provide tools for undoing and redoing changes (handling merging), allow remote access to the repository, and even support multiple time lines of the files (branching).
In this short tutorial I’ll go through everything you need to know in order to use Git in this course.
Git is a command-line tool that is installed on your computer to manage Git repositories of textfiles. When using Git on your computer the repositories are local, but Git has the ability to share them remotely with others. This is where Github comes in.
Github is a hosting site for Git repositories. If you want to share your repo with a team of other people then you can host it on Github and allow others to subscribe to it. Github allows them be able to download your repositories, change it, and even submit changes back to the repository on Github for you to have as well.
First we need to get Git on your computer if it’s not there already.
If you are running Linux, you are done, and can skip this section.
Otherwise, Mac OS X users need only open the Terminal app, and type
git at the command line. If Git’s not install already, then
it will tell you what you need to do.
So if you’re a Windows user, then please install Git from here. This is all you need to install to use Git in this course.
This will install a command line interface to Git called GitBash, and it looks like this. I like using the command line, because the same commands work no matter which operating system you are using. Thus, I can help everyone using the same solutions to problems we run into.
Throughout the remainder of this tutorial I will say “open the command line” to mean open either the terminal on Unix-based systems (Linux, Mac OS X, etc) or GitBash on Windows.
We now need to setup Git on your computer so that it knows who you are. This is independent of your Github username and email, and is setting up your local Git install to record your name and email when telling Git about your revisions.
Your name:
> git config --global user.name "John Doe"Replace “John Doe” with your full name. This is the name Git will use to record your changes in the revision history.
Your email:
> git config --global user.email jdoe@augusta.eduThe revision history also records your email. Set this to your AU email address.
This completes the Git basic setup.
At this point you have emailed me with your Github login and I have replied with the link to your Git repo. If not, then please do this step first.
Now we will clone your repo that I have created for you, and that is hosted on Github, to your computer so that you can use it.
First create a folder on your computer that you will use to keep
everything in this class in. I’ll call it pl_dir in this
tutorial. Then open the command line and navigate to
pl_dir:
> cd path_to_pl_dir/pl_dirAt this point you have changed your working directory to
pl_dir. You can check that this worked by running the
command:
> pwdThis stands for “present working directory”.
Now that your working directory is pl_dir we can clone
your course repository using the following command:
> git clone URLreplace URL with the URL I sent you.
Now check to make sure that the clone was successful (if it weren’t you should have gotten an error message):
> ls This command is “list files” and simply lists all the files in your working directory. If you see your repo, then you are good to go. Otherwise an error happened, and so try again, but if you can’t figure it out, then ask on Slack.
You only ever need to clone a repository once. Unless you delete the folder you will never have to clone this repository again.
A Git repo is just a special directory that Git knows about. Once it’s cloned to your computer you can treat it as a standard folder on your computer that is full of textfiles that are managed by Git. The only time you need to use the command line or Git is when you are ready to tell Git about the changes you’ve made.
So to get an idea of how this works. Using the file explorer (Finder
on Mac OS X) go and take a look at your repo in pl_dir. The
first time you clone your repo it will contain the following files:
git_tutorial : Some example files for this
tutorial.When you are working on your assignments you can use your computers graphical based means of exploring files and folders, and simply treat the files as normal files. Open them with editors and save them, etc.
Let’s do an example. Open git_tutorial/example.txt in
your favorite text editor. Answer the question and save it.
Now we are going to tell Git about your changes, commit them to the revision history, and then push them to Github where I can see and get your changes too.
Open the command line and move into the the git_tutorial
folder:
> cd path_to_pl_dir/pl_dir/git_tutorialNow tell Git about your changes by committing them:
> git commit -a -m 'Answered the question.'This is adds all the changes you’ve made to the files in your working directory to the revision history. This is a completely local operation, it doesn’t communicate it to Github.
You can see the revision history using the command:
> git logThis lists all the changes by everyone who’ve made changes to the files in your repo. For example, you will see mine listed as well, and I will see yours. Notice your name and email are showing up, this is the result of the setup we did earlier.
The command git commit -a -m says you want to commit
each change to the files in my working directory using the commit
message provided; we used 'Answered the question'. This
message should be a detailed description of the changes you have made.
As you can see in the revision history when using git log
this shows up in the history. I’ll read these to see what you have
done.
You are now ready to share your changes with Github. To do this, push your changes upstream:
> git pushThis sends all of your recent commits to Github so that everyone who subscribes to your repository can get your changes.
The last Git operation you will need for this course is a means of fetching or pulling recent changes by people other than you from Github. For example, I’ll be adding your assignments to your repository throughout the semester, and so, you will need to get them from Github into your repository.
First, move into your repository:
> cd path_to_pl_dir/pl_dirMake sure you have no modified files Git doesn’t know about, because you have never committed them. Do the following:
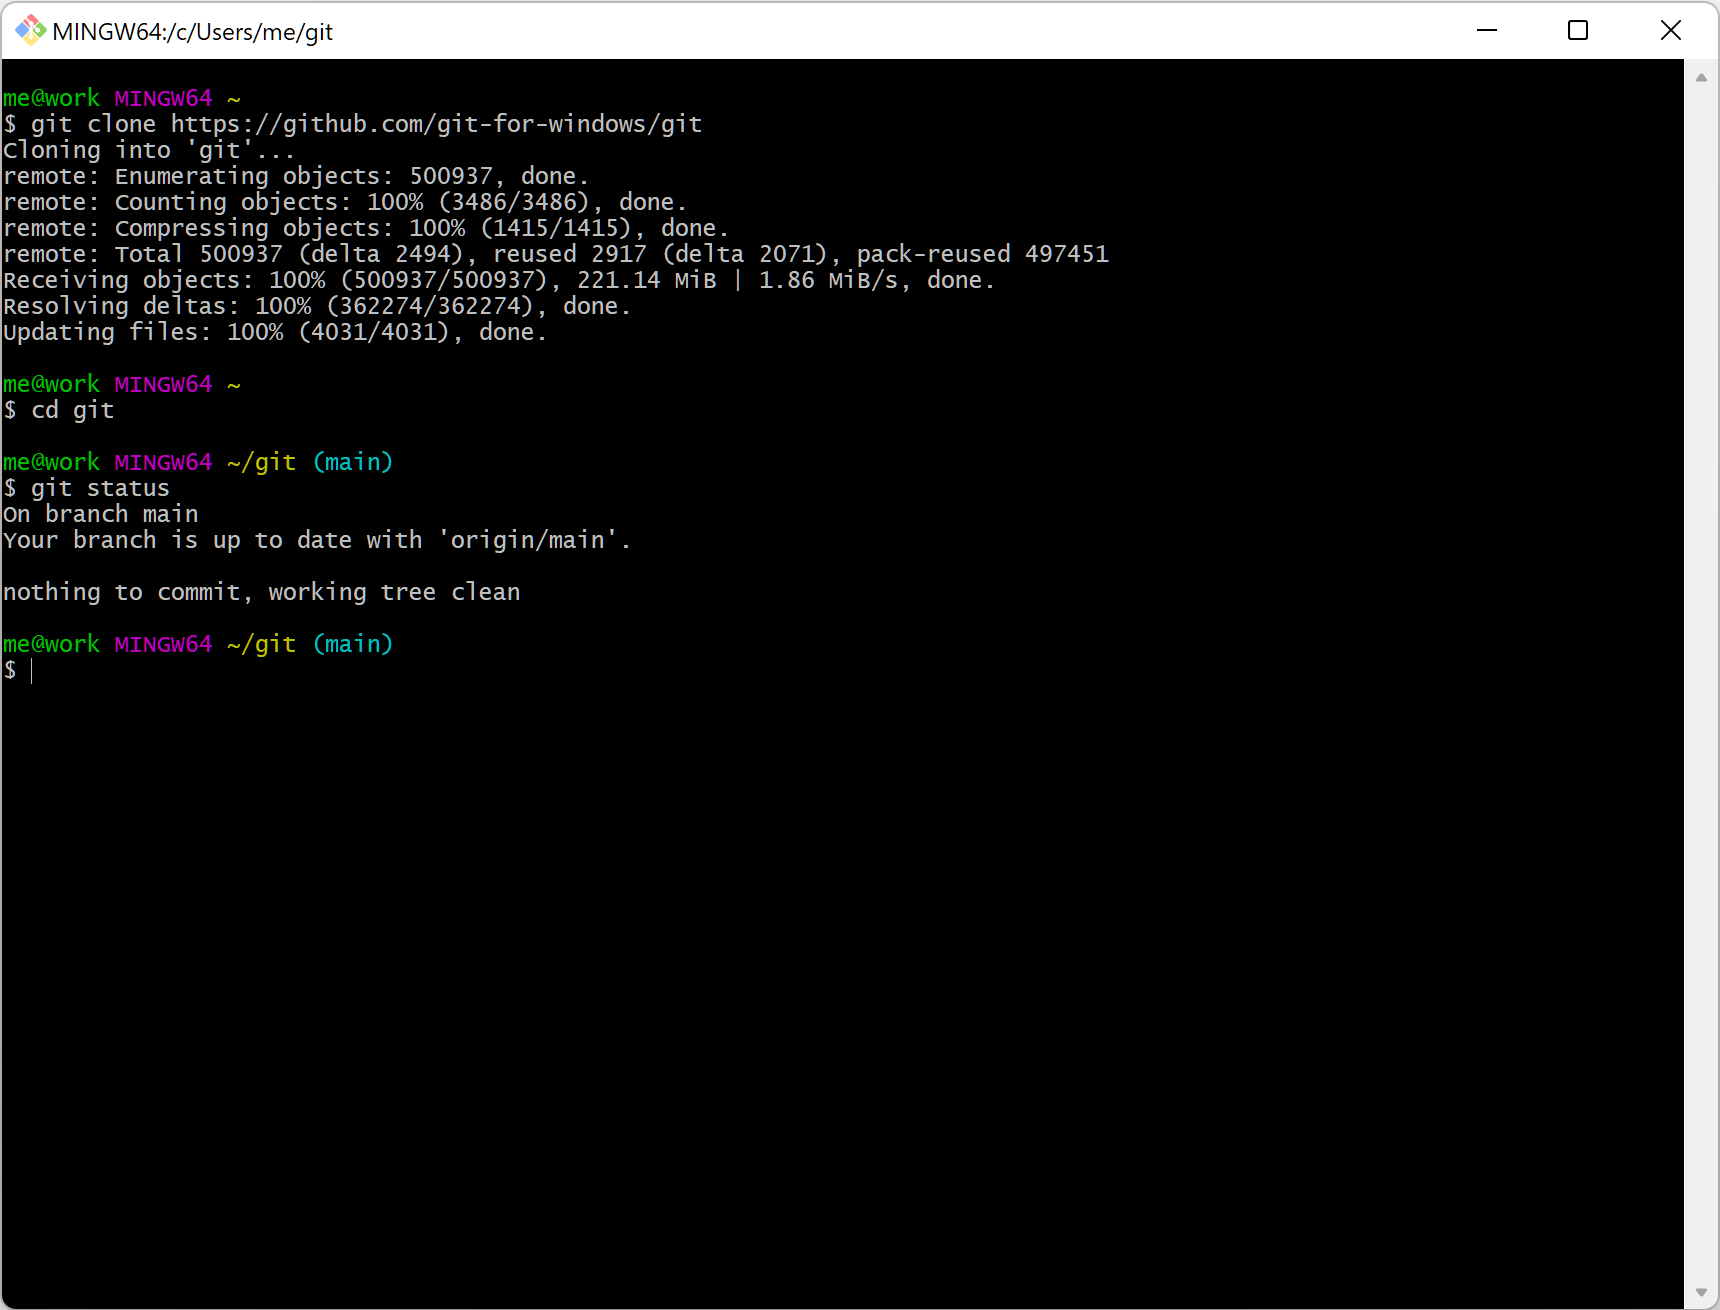
> git status

On branch main
Your branch is up to date with 'origin/main'.

nothing to commit, working tree clean
If you see the above message, then you are good to go, all changes have been committed to your revision history. If you see something that looks like:
On branch main
Your branch is up to date with 'origin/main'.

Changes not staged for commit:
  (use "git add <file>..." to update what will be committed)
  (use "git restore <file>..." to discard changes in working directory)
    modified:   markdown/git.md

no changes added to commit (use "git add" and/or "git commit -a")
Then you have untracked changes that need to be committed. Go back to the previous section and commit your changes before proceeding. There can be no non-committed changes when we pull from Github, because Git will merge all changes together.
To pull all changes from Github into your local repository do:
> git pullwithin your repository. Note that all Git commands must be within
your repository. That is, your present working directory must be your
repository; in this tutorial it has been pl_dir.
When using Git for this course and completing assignments I recommend the following work flow:
Open the command line and move into your repository using the
cd command.
Pull all new changes from Github using
git pull.
Do your work by making changes to the files.
After you are done working commit your changes using
git commit -a -m 'MESSAGE'. Commit after you work every
time no matter if your done with your assignment or not. This keeps your
repository clean.
After you commit push your changes to Github using
git push. Do this every time you’re done working too. You
can push as many times as you like. Committing and pushing every time
your done working on your assignments keeps Git happy.
Bob’s your uncle!
And that’s all you need to know about Git for this class.